Categories
New Blog
Tags
Choosing an optimal handlebar size has multiple benefits, including increased comfort, better control, and higher cycling speed. Not many cyclists are aware of the benefits of replacing their bike handlebars. Changing your handlebars can relieve the pressure pains and body strain you experience after every riding session. The unnecessary pressure is probably caused by poorly sized handlebars.
Research by the National Library of Medicine shows that handlebar dimensions like height affect muscular activity during cycling. The handlebar height can change your trunk inclination and indirectly impact stress on different parts of your body. If you are a customer to plan purchase only one bar for your bike, you can follow this article to measure the handlebar preferred. If you are a wholesaler to purchase handlebars from the factory, you can ask for the factory bars geometry where all details will be showed.
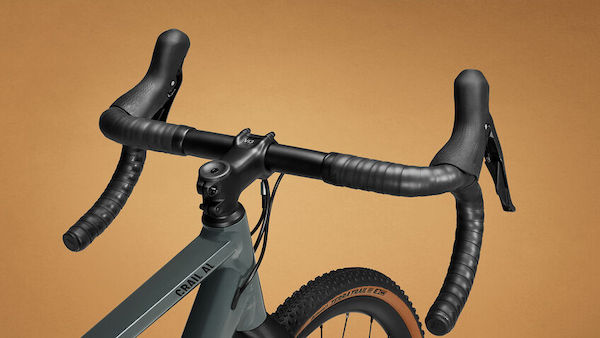
Your bike’s handlebar measurements affect your comfort and balance when riding. A wide handlebar offers more control because of its large lever, and a narrow handlebar is more aerodynamic. The optimal handlebar measurement offers either or both conveniences depending on the cycling style, but how are handlebars measured? This article looks at how to measure handlebar width, how to measure handlebar diameter.
Mountain Bike Handlebars Measurements Methods
A wider handlebar will give you better control, responsive steering, and maximum comfort as it opens up your chest for easy breathing.
On the other hand, a narrow handlebar is great for narrow trails with rolling sections as it opens up your shoulders and back to improve aerodynamics and reduce fatigue.
So, what is the optimal handlebar width for mountain bikes? There is no one-size for all option. It all depends on your riding style, body size, and shape. The standard mountain bike handlebar size ranges from 700 mm to 780 mm. Heavier, broad-shouldered riders go for handlebars as wide as 800 mm.
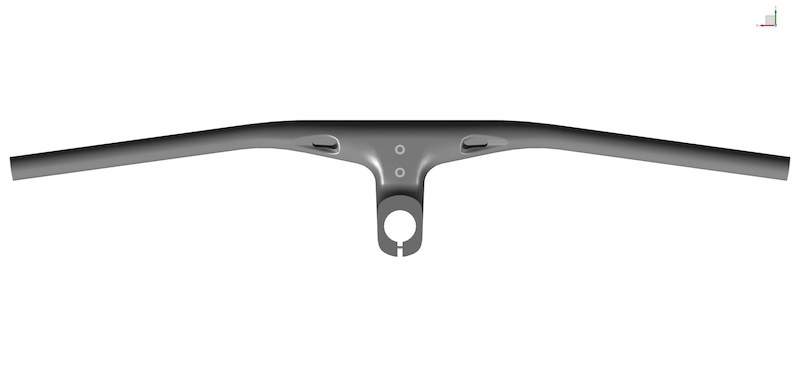
You can get the maximum recommended handlebar width through trial and error or with the formula:
Max handlebar width = Height in cm x 4.4.
To measure the handlebar width, you need a tape measure.
Step 1: Place and hold one end of the tape measure on one end of the handlebar.
Step 2: Pull the tape measure along the handlebar’s length towards the other end and take the reading. The measurement is the handlebar width.
MTB Handlebar Sweep
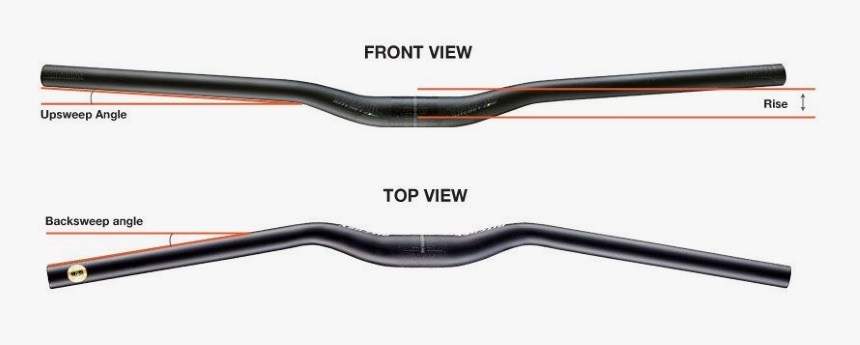
Upsweep and back sweep define a handlebar’s geometry. Upsweep is the angle at which handlebars emerge from the clamp area. It provides a more comfortable riding position for the wrist. The back sweep is the angle at which the handlebar bends back towards the rider and it also offers comfort to the wrist during cycling.
You need a piece of paper, a pencil, a ruler, and a protractor to measure both the upsweep and backsweep.
Measuring MTB Handlebar Up Sweep
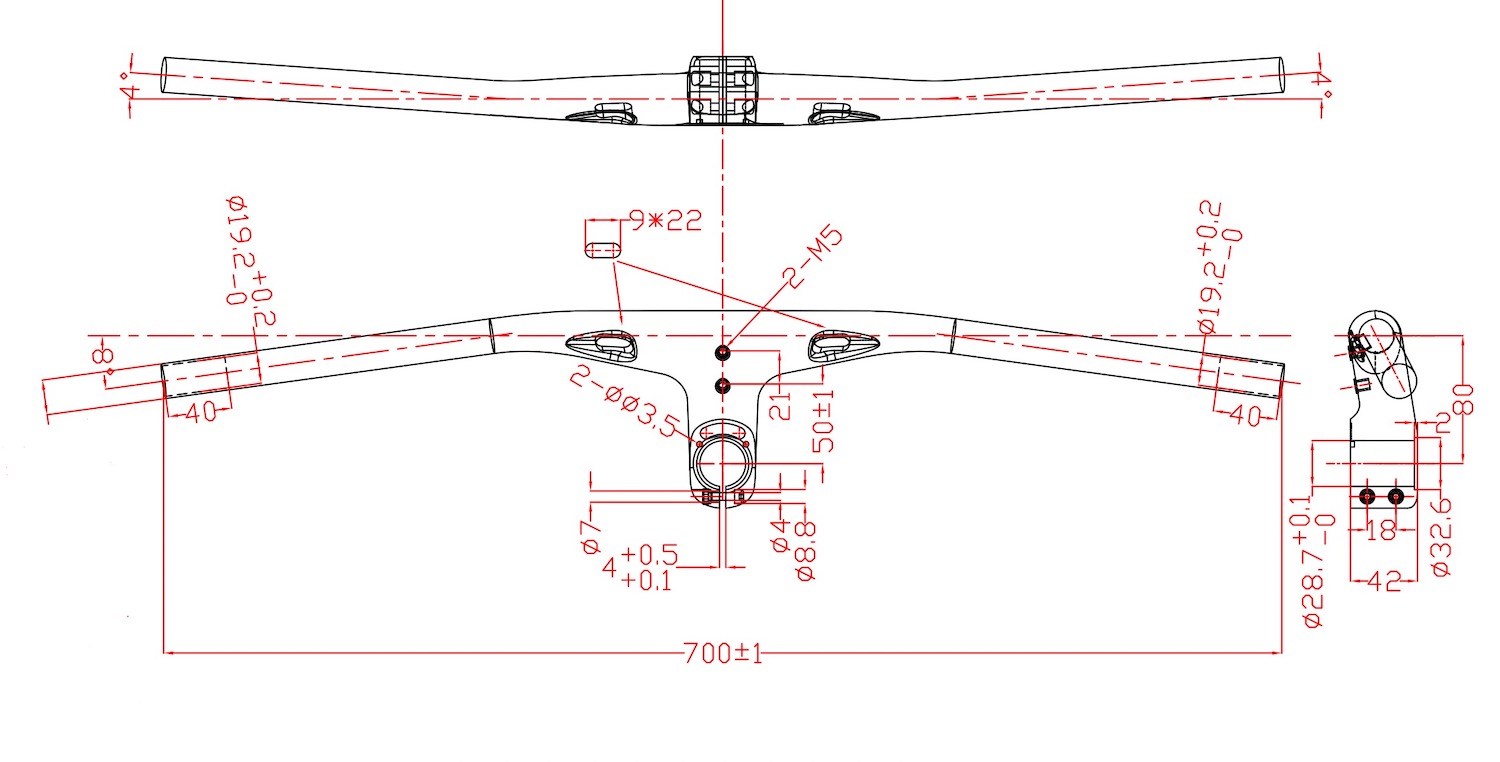
Measuring MTB Handlebar Back Sweep
MTB Handlebar Rise
Handlebar rise determines the distance between a handlebar’s clamp area center and its inside hoods (where the steep rise angle levels out).
Lay the handlebars on a piece of paper.
Use a pencil to make a mark on either side of the clamp area.
Draw lines on both sides of the hoods.
Plot the midpoint between both sets of lines.
Place the ruler vertically and draw a line through the clamp area’s midpoint extending up the paper.
With the ruler in a horizontal position through the hood area midpoint, draw a line that crosses the vertical line.
Measure the distance between the point where the lines overlap and the clamp area’s midpoint to get the handlebar rise.
MTB Handlebar Diameter
The key parts to measure when determining the handlebar diameter and the clamp area diameter and the grip diameter.
The clamp area is where the stem attaches to your handlebars and the grip area is the part you grip while riding. A caliper is the best tool for measuring a handlebar diameter as it is accurate and super-easy to use.
MTB Handlebar Weight
Handlebar weight is another crucial handlebar measurement you may be interested in. To measure your handlebar’s weight, place it on a weighing scale. Ensure its total weight is resting on the scale.
The standard handlebar weight for a mountain bike ranges between 0.33 and 0.88 lbs (150 g and 400 g).Our HB21 carbon MTB riser intergrated handlebar weight is super light up to 320g.
Road Bike Handlebars measurements methods
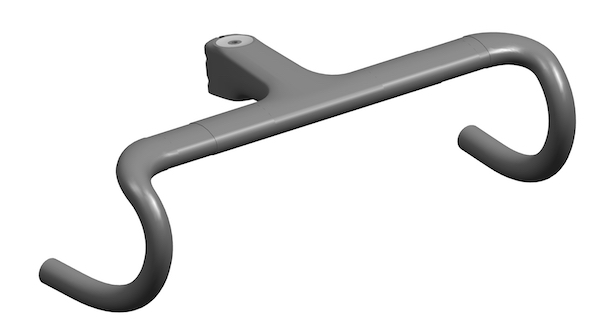
Road Bike Handlebar Width
Many road bike handlebars measure between 36 and 46 cm wide. Your riding style and goals determine the ideal handlebar width for you. A competitive road racer would do well with a narrower handlebar width for a significantly reduced aerodynamic drag. If you use your bike to commute, you need a balance of comfort, speed, and steering precision which a wider set of handlebars can offer.
To measure a road bike’s handlebar width;
Road Bike Handlebar Reach
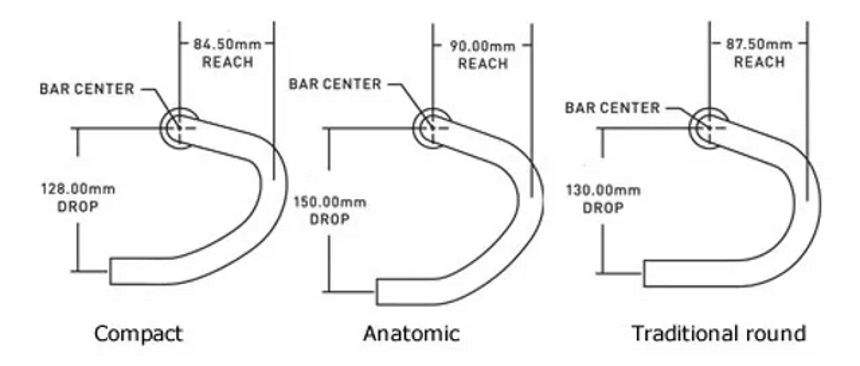
Handlebar reach is the distance you have to cover when you lean forward in a tucked riding position. You’ll need a sheet of paper and a tape measure to measure the handlebar reach.
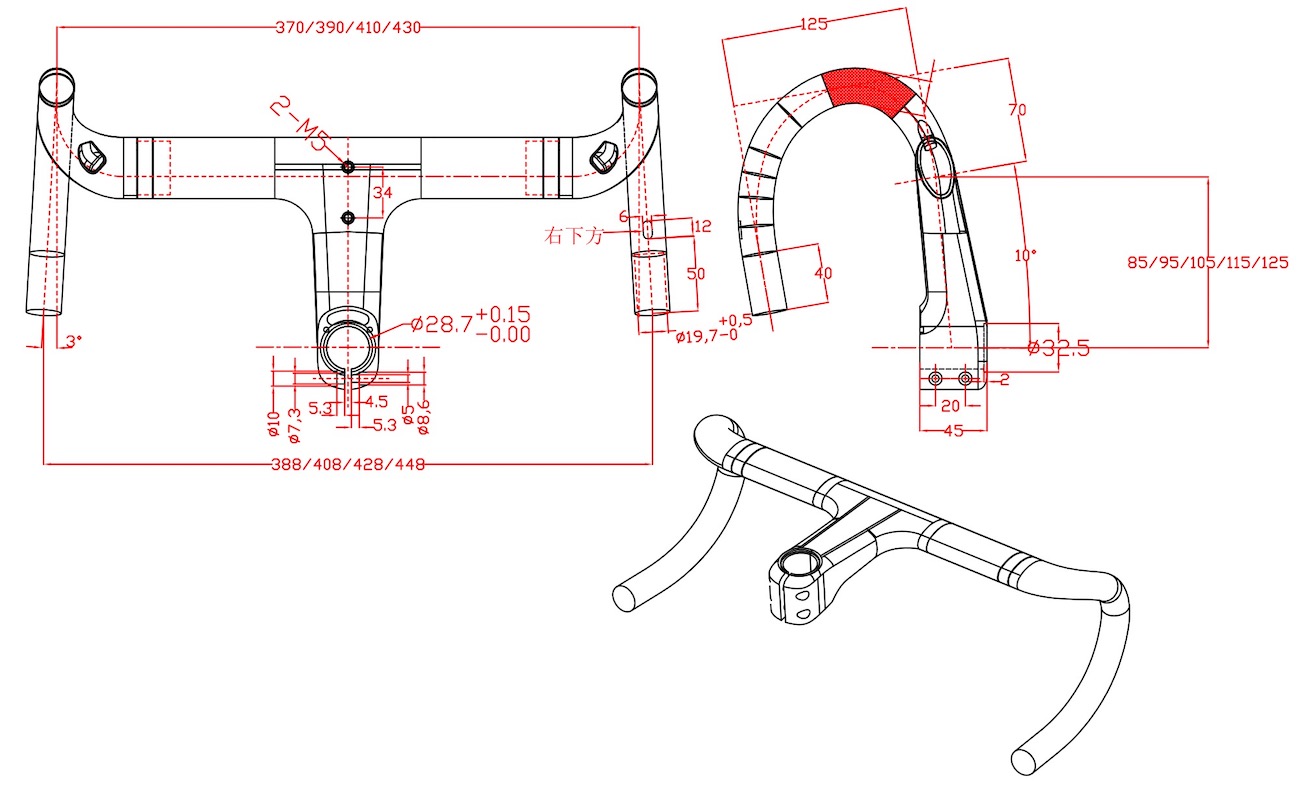 Road Bike Handlebar Drop
To measure the handlebar drop you will need a piece of paper, a ruler and a pencil.
Road Bike Handlebar Diameter
As with mountain bikes’ handlebar diameter, you have to measure the clamp area diameter and grip area diameter to get the handlebar diameter.
You will need a caliper to make the most accurate measurement. It is also the easiest measurement method.
Road Bike Handlebar Weight
Measuring the handlebar weight is pretty straightforward as all you need is a weighing scale. Place the handlebar on the weighing scale, ensuring all its weight is supported by the scale. Take the readings.
A typical road bike can weigh between 0.44 and 1 lbs, depending on its building materials. Our HB20 aero road carbon handlebar is fully integrated with light weight 360g,and it is very hotsale in 2022.
Hope this guide can help you to get your best bicycle handlebar width, diameter, weight, drop, and reach for mountain bikes and road bikes. then you will get the right fit for your riding style and body shape.